
Arm supports
How to Put On a GivMohr Sling Safely
A GivMohr sling carries the weight of a weak or flaccid arm and holds the shoulder in line, which can ease subluxation pain. The arm not wearing the sling goes through the shoulder loop, the hand through its own opening, and the elbow strap about an inch below the elbow. It is not a transfer aid and never a handhold for moving someone. Inspect it for damage before every use.
Show guidance for someone who
Demonstration of putting a GivMohr sling on a weak arm, including the hand piece and the elbow strap. Captions and full transcript below.
Before you start
- Sling is inspected for frayed fabric, pulled stitching, damaged tubing, or a buckle that will not hold
- All parts are clean and working, per the instructions that came with your sling
- Straps are already opened out to roughly their size, as a starting point
- You can name each part: shoulder loop, arm strap, hand opening with tubing, four-tab adjustment buckle
- Their occupational therapist has fitted this sling once and shown you the finished fit
- You have explained what you are about to do and they have agreed
The procedure
Tell them what you are about to do
Say out loud that you are about to move their arm, and keep talking to them through every part that follows.
A weak arm cannot brace itself. Someone who knows the movement is coming tenses less and pulls away less, which is what protects the shoulder.
Find the pinstriped side
Lay the sling out fully and turn it so the pinstriped side faces in, toward their skin, and the words on the four tab read the right way up from the outside.
Inside out is the easiest mistake to make and it will not sit right no matter how much you adjust it afterward.
Pass their other arm through the shoulder loop
Standing or sitting beside them, feed the arm that is not wearing the sling through the shoulder loop.
The loop crosses the body and anchors on the good side. Putting the weak arm through it is the most common misfit and it loads the shoulder you are trying to protect.
Drape the two remaining straps over the shoulder
Lay the other two straps gently over the shoulder on the affected side so they hang free and untwisted.
Bring their fingers through the hand opening
Support the forearm, bend the elbow, and guide the fingers through the opening made for the hand.
Seat the tubing in the thumb web space
Slide the tubing up until it rests in the web space between the thumb and the first finger, then let the hand go so it hangs next to the body.
Seated in the web space, the tubing gives the hand something to rest around. Left down in the palm or across the fingers it presses on soft tissue instead.
Bring the back strap around the elbow
Pull the back strap down and around the elbow so it sits about one inch below the elbow, toward the hand, and lies almost horizontal.
Directly on the point of the elbow it slides off. Too far down the forearm and it stops holding the arm in against the body.
Even out the two shoulders
Adjust the straps until the arm is supported without being lifted high or left hanging low, and both shoulders have the same rounded shape.
The dip you can see or feel over the affected shoulder is the subluxation. Matching the two shoulder shapes is how you know the sling is doing its job.
Ask about comfort before you walk away
Ask whether anything pinches, pulls at the neck, or feels tight, and readjust before you leave them in it.
Use caution
- Do not rush. Moving quickly is how a weak arm gets hurt and how the fit ends up wrong.
- Never force a strap or pull sharply on the arm. Gentle, controlled movement only.
- Skin breakdown happens under any sling worn for long stretches. Check the skin every time it comes off.
- Follow the instructions that came with your own sling. This page does not replace hands-on training from an occupational therapist.
- This is arm support, not a transfer device. Never hold, pull, or steady someone by the sling.
Stop and get help
- Pain that carries on after you have adjusted the straps. Take the sling off and call their therapist.
- A sore, a blister, or redness that does not fade once the sling is off
- Fingers that look pale or blue, feel numb, or start to swell
- Frayed fabric, pulled stitching, damaged tubing, or a buckle that will not hold
- A shoulder that still looks or feels out of place with the sling correctly fitted
Print the nine-step checklistOne page, large type, tape it to the wall by the bed.
Getting the sling fitted
The decision to use this sling, and how long it is worn each day, belongs with the care team. Ask the occupational therapist to fit it in person, then ask them to watch you put it on once and correct you. Ten minutes of that saves weeks of a sling that sits slightly wrong and gets worn less and less.
Practice matters more than it sounds. Knowing the parts by feel means you fit it the same way every time, and a consistent fit is what prevents skin irritation, circulation problems, and a shoulder that is still slipping inside a sling that looks fine.
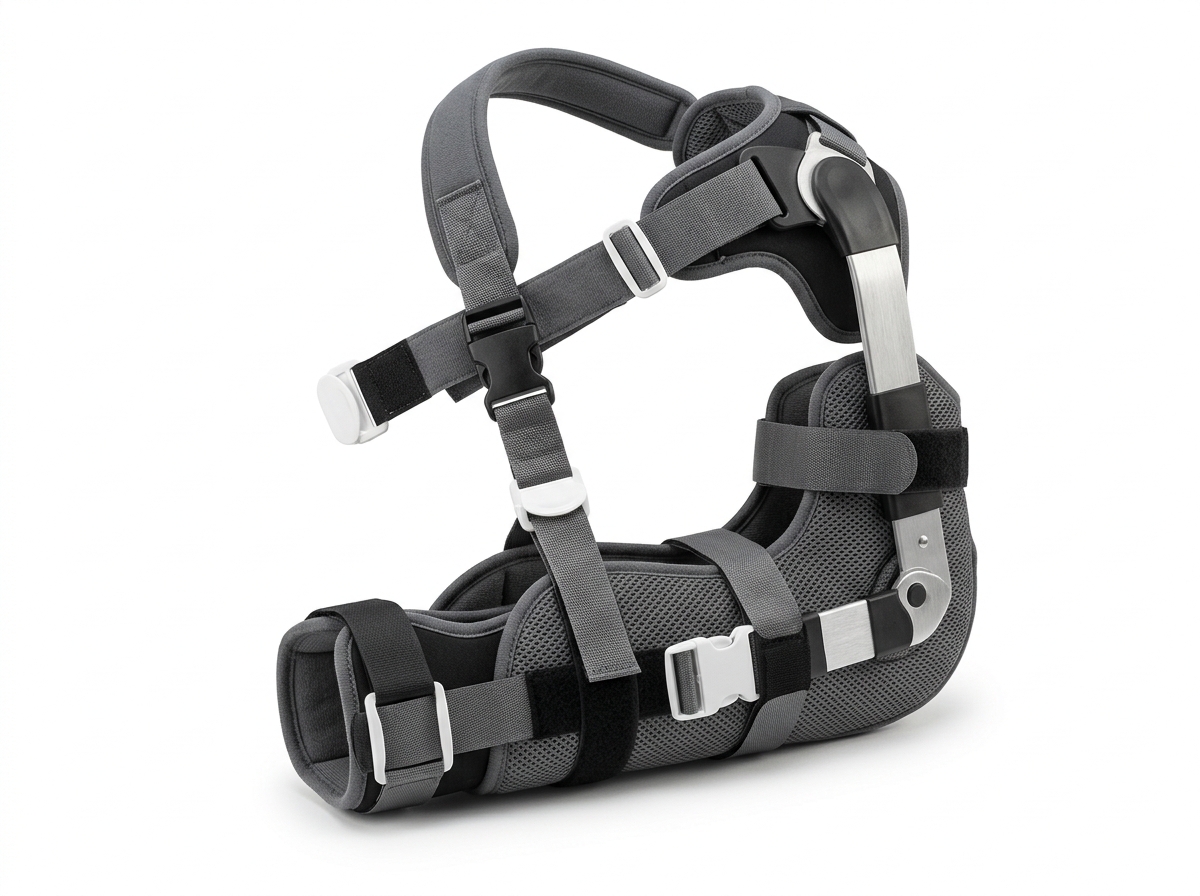
Arm and shoulder support
GivMohr Sling
Support for a weak or flaccid arm, aimed at the shoulder joint rather than at moving someone.
- What it does
- Carries the weight of a weak arm and keeps the shoulder joint in line, which can reduce subluxation pain and hold the arm in a comfortable position.
- Parts
- Shoulder loop, arm strap, hand opening with tubing, four-tab adjustment buckle
- Which way round
- Pinstriped side against the skin. The words on the four tab read from the outside.
- Sizing and fit
- Set to the person by an occupational therapist. Check the label on your own unit for care and cleaning.
- Wear time
- As directed by their occupational therapist or provider, with a skin check every time it comes off.
Honest limitation: this sling supports one arm and does nothing else. It does not help with standing, walking, or transfers, and it must never be used as a handhold to move or steady someone. Worn too long without a break it can irritate skin, so it comes off for skin checks whatever the wear schedule says.
We earn a commission on this link. It does not change the price you pay, and it does not influence which equipment we cover.
When this stops working
If shoulder pain keeps coming back with the sling fitted correctly, if the skin will not tolerate it, or if it no longer holds the joint in line, that is a call to the occupational therapist rather than a tightening job. And if the harder problem has become standing and moving safely, the answer is a different piece of equipment: start with using a gait belt to steady a transfer.
Common questions
Which arm goes through the shoulder loop?
The arm that is not wearing the sling. The loop anchors on the unaffected side and crosses the body, so the weak arm goes only into the arm strap and the hand opening. Threading the weak arm through the loop is the most common mistake and it loads the shoulder you are trying to protect.
How do I know the fit is right?
Look at both shoulders from the front. They should have the same rounded shape, with the dip over the affected shoulder reduced as much as it can be. The arm should look supported, neither lifted high nor hanging low, and the person should say it feels natural.
Can I use the sling to help them stand up?
No. It supports the weight of an arm. It is not rated to take body weight and it is not a transfer device. Pulling on it to help someone stand risks the shoulder it is there to protect. Use a gait belt or a lift, whichever suits them.
How long should they wear it each day?
That comes from their occupational therapist, who sets the timing and duration around the rest of their care plan. Check the skin whenever it comes off, and if you find a sore or persistent redness, leave the sling off and call the therapist.